


Repair & Re-wear
To repair is to be resilient—and good gear should go the distance. This series shows you how to give your merino wool a longer life. All you need is a needle, some thread, and a few minutes.
Stitch repair
Merino wool is built for the wild, but even the best fibres meet the occasional snag.
This stitch repair is a fast on-the-go fix, so you can quickly get back on the trail.
Difficulty level: 3/5
Repair time: 6 minutes
Tools needed: All you’ll need is a needle and thread, and some scissors. We’re using a vibrant thread to clearly show the stitches, but if you can match the thread to your garment, you're guaranteed a barely-there repair.
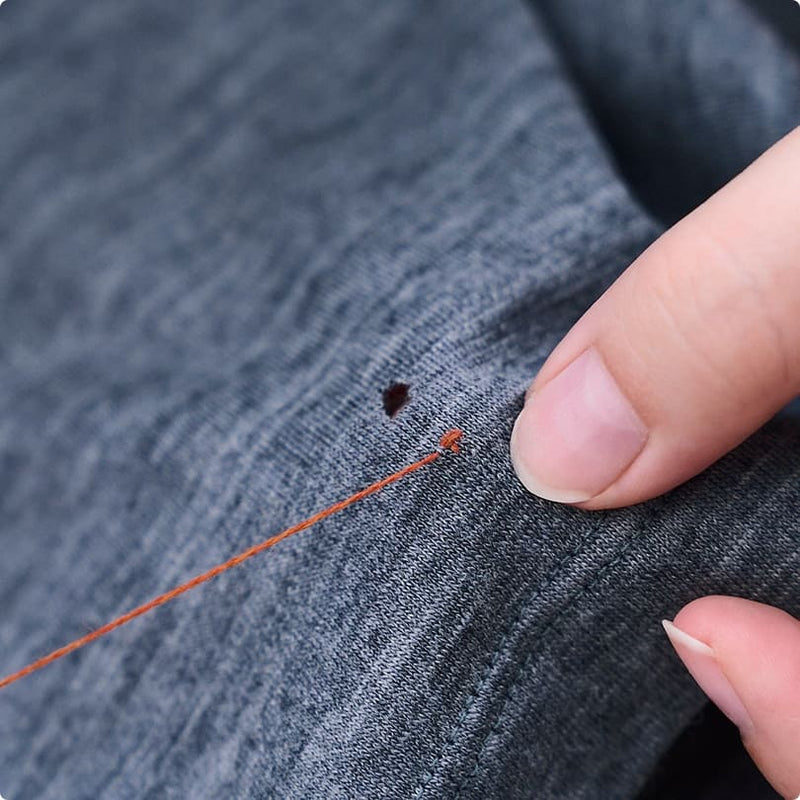
Step 01
Thread your needle and tie a knot at the end. We begin from the reverse side of the fabric and bring the needle through the material about 1 cm below the bottom edge of the hole.
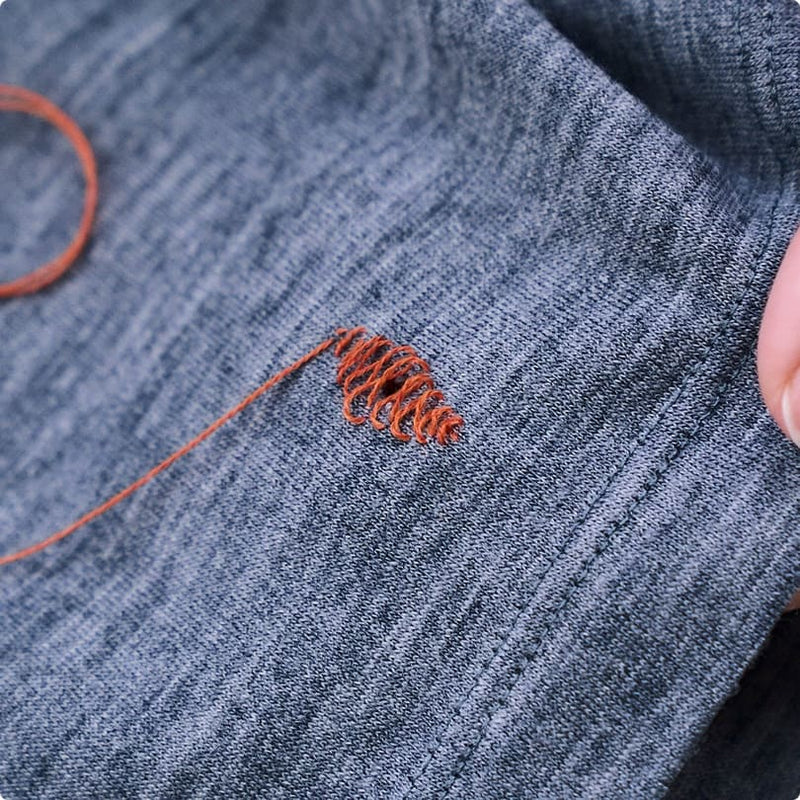
Step 02
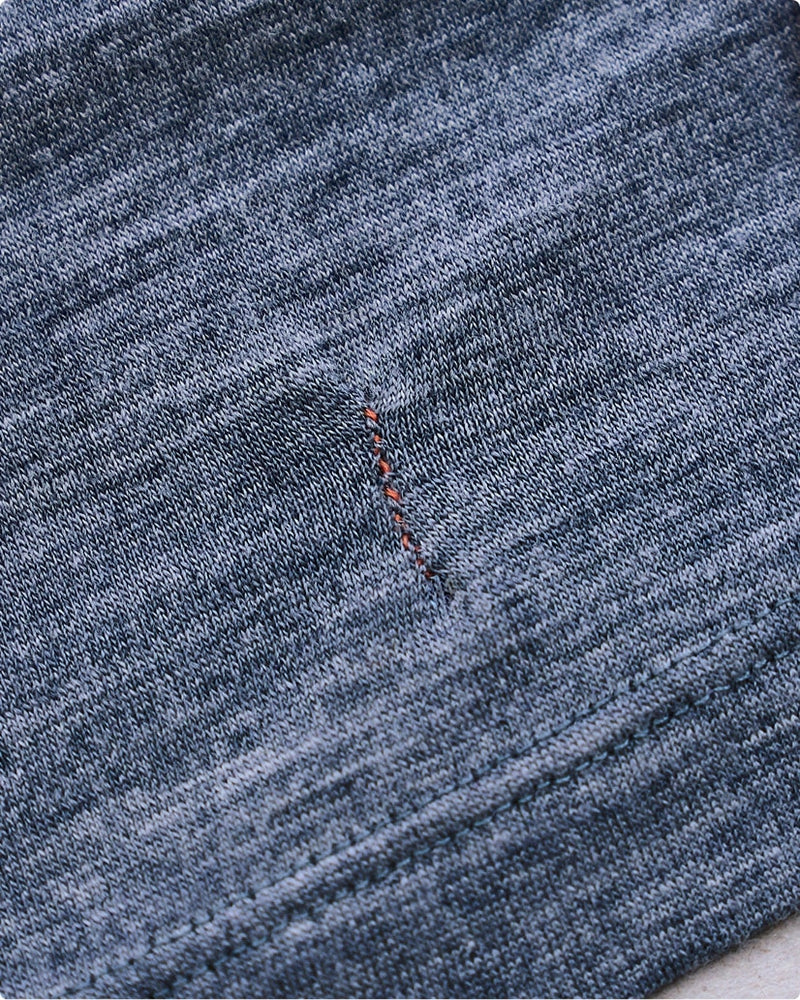
We’re going to be making tiny stitches, placing the needle through just a couple of loops in the material. Continuing just above where we began, we’ll make these stitches further and further apart from one another, creating a diamond shape over the hole. As you continue over the hole, begin to taper your stitches closer together.
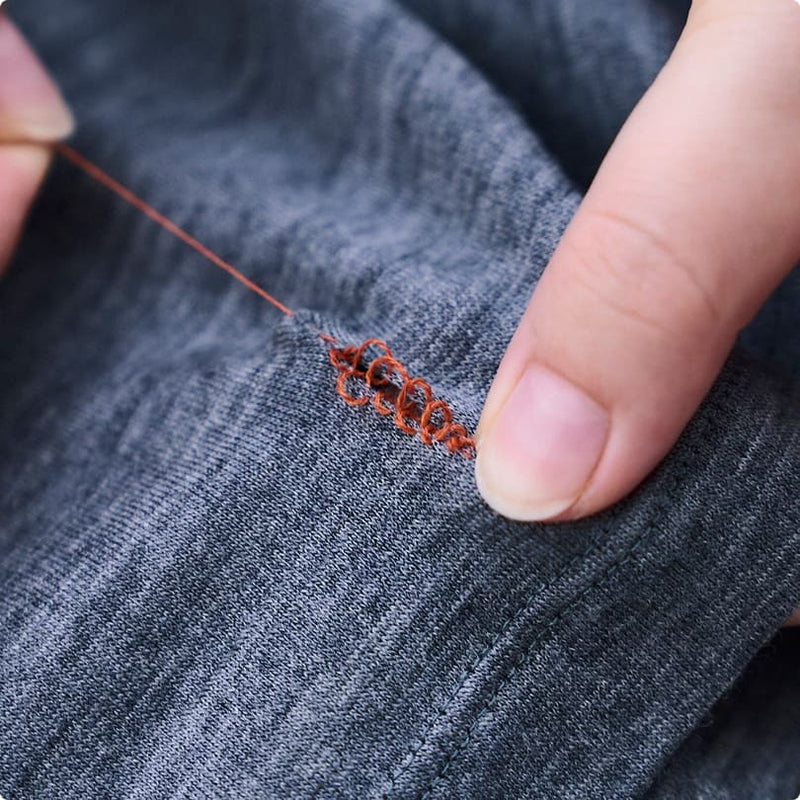
Step 03
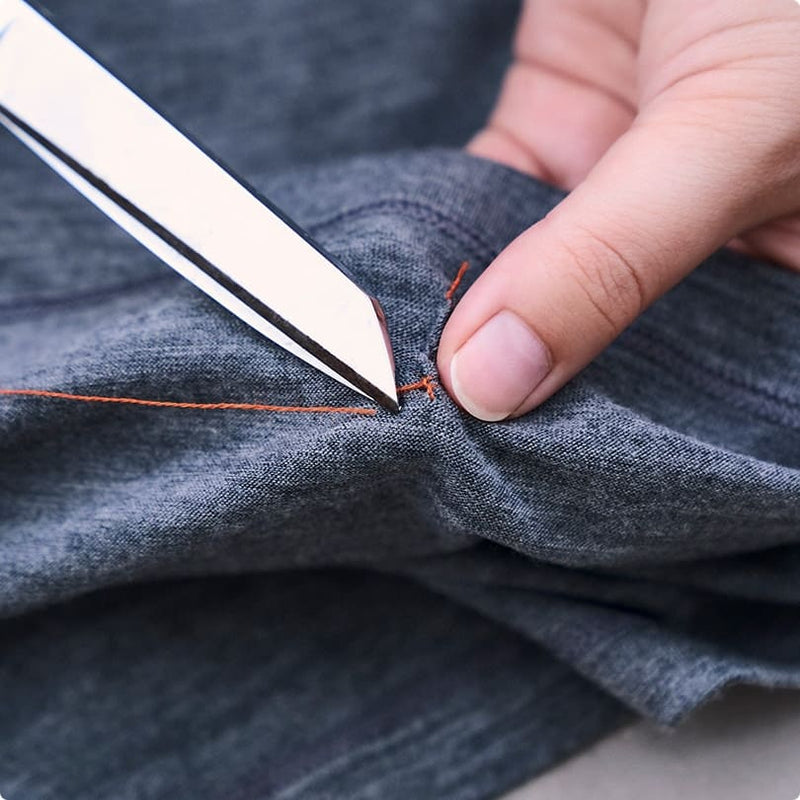
Once your stitches are a couple of millimeters apart, above the top edge of the hole, use your thumb and forefinger to hold the tail of your thread at the base of your work, and with your other hand, gently pull your stitches together, transforming the long stitches into a single seam.
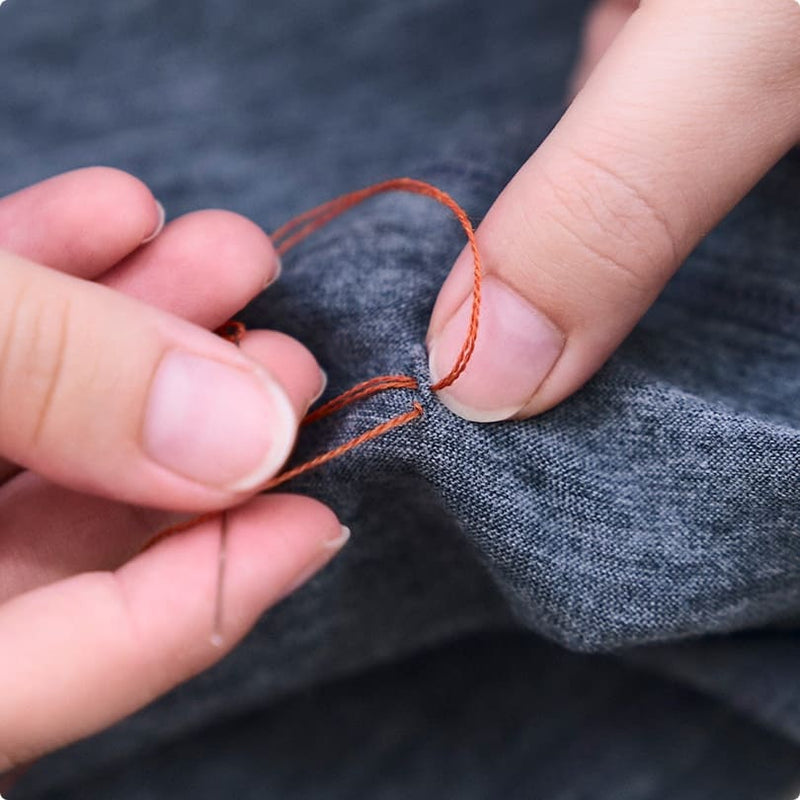
Step 04
To finish the repair, bring your needle to the back of the fabric and make a couple of knotted stitches by placing your needle through the ends of the material, through the loop of thread created by your stitch, and pulling to secure.
Step 05
Trim the threads and your repair is complete. You can help the repair blend into the material by lightly ironing over the surface. That’s all it takes to keep your merino wool moving because to repair is to re-wear.
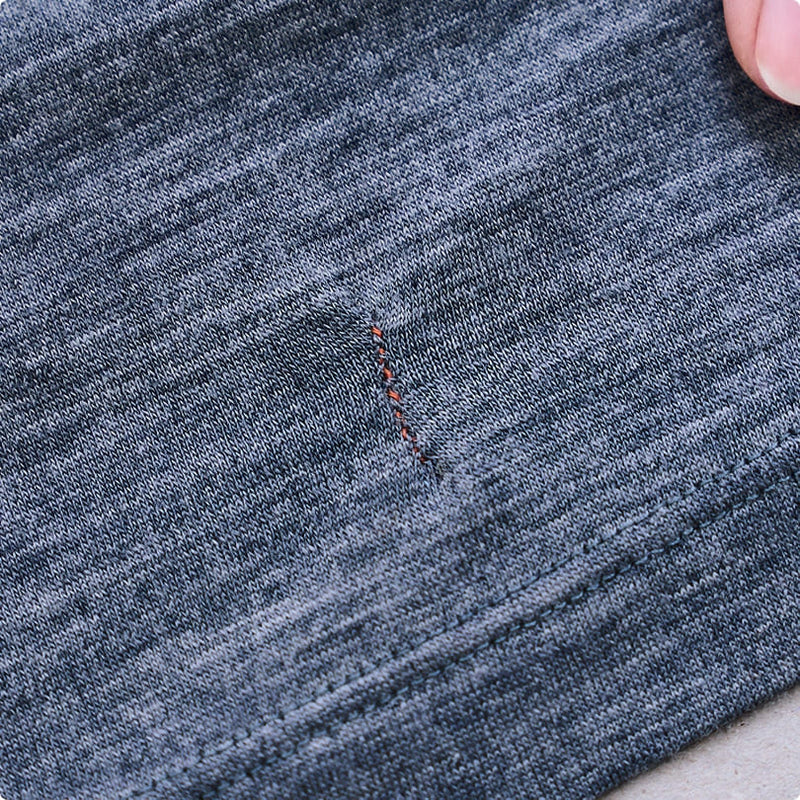
Step 06
The garment is repaired and ready to be worn again on your next adventure!
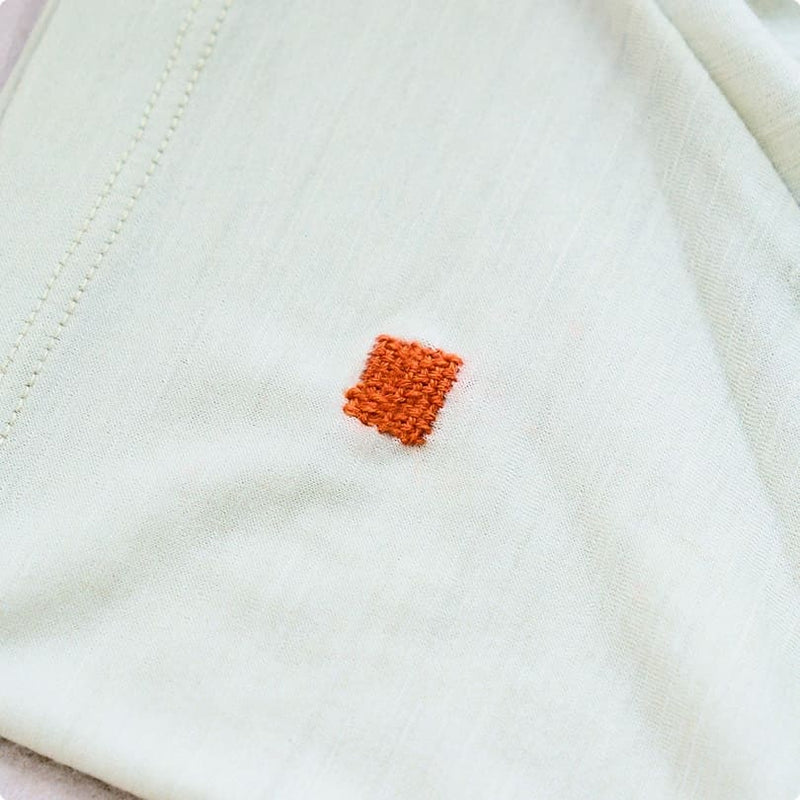
Square darning
Merino wool’s softness and performance make it a go-to layer season after season.
Over time, signs of wear may show in places—but square darning is a timeless way to reinforce what lasts.
Difficulty level: 5/5
Repair time: 15 minutes
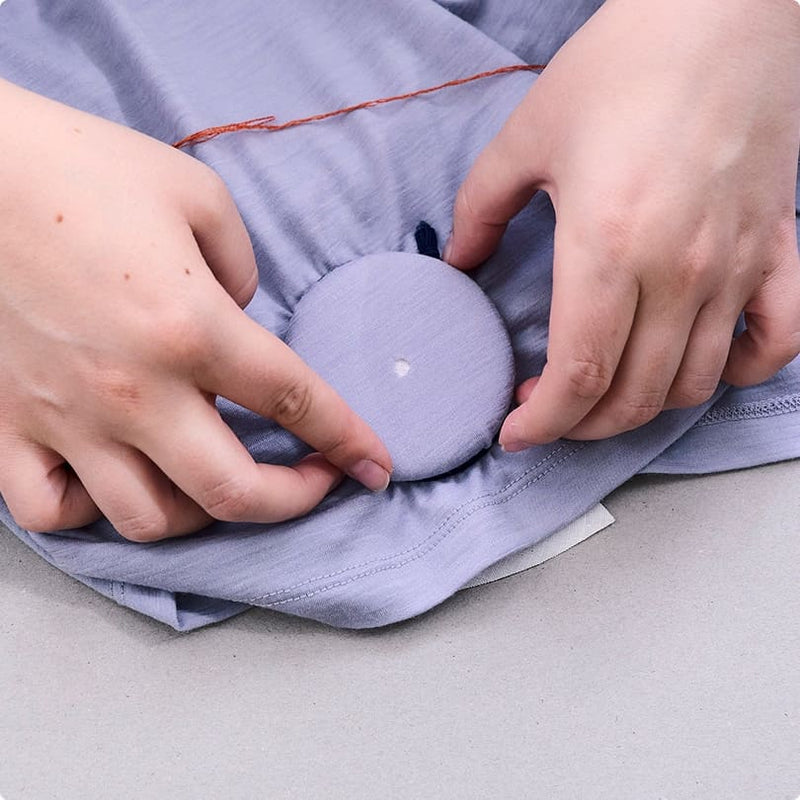
Tools needed: We’re using a needle and thread, scissors and a darning disc. If you don’t have one, you can secure your fabric around a small dish with an elastic. For this repair, you don’t need to knot the end of the thread.
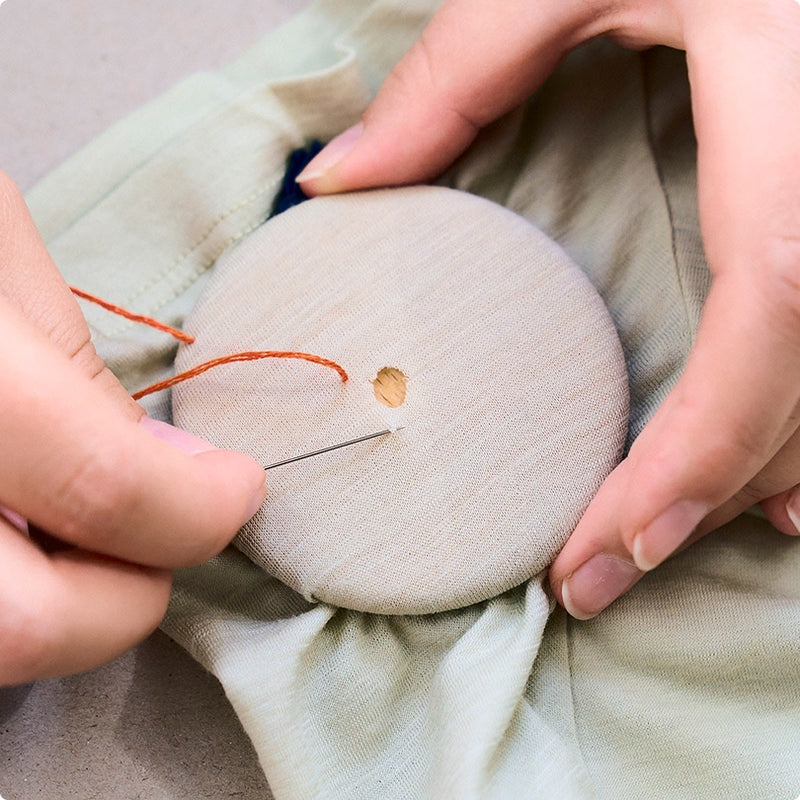
Step 01
Secure the fabric onto your darning disc and thread your needle.
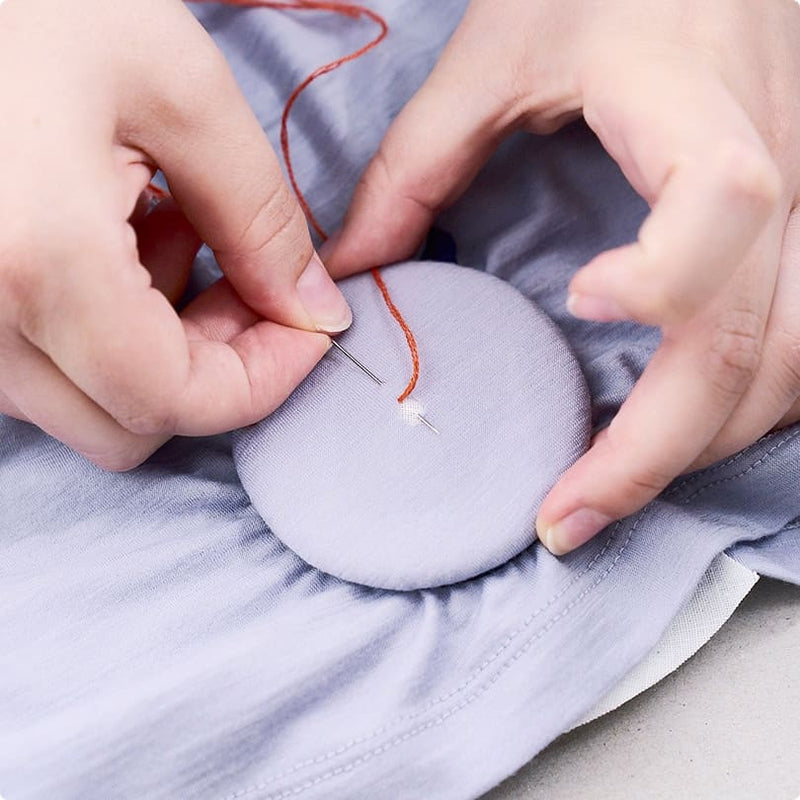
Place your threaded needle into the side of the work area. Then bring it back to the surface a few millimeters away from the edge of the hole, leaving a long tail of thread.

Step 02
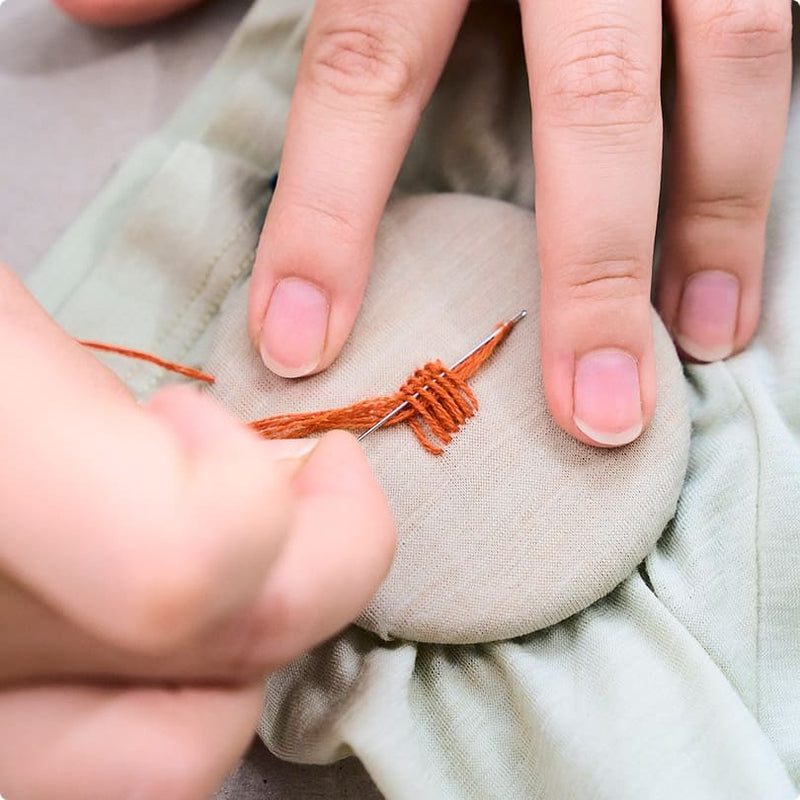
Imagine a square overlaying your hole, and begin at the bottom right corner. We’re going to make long stitches that form vertical stripes over the hole.
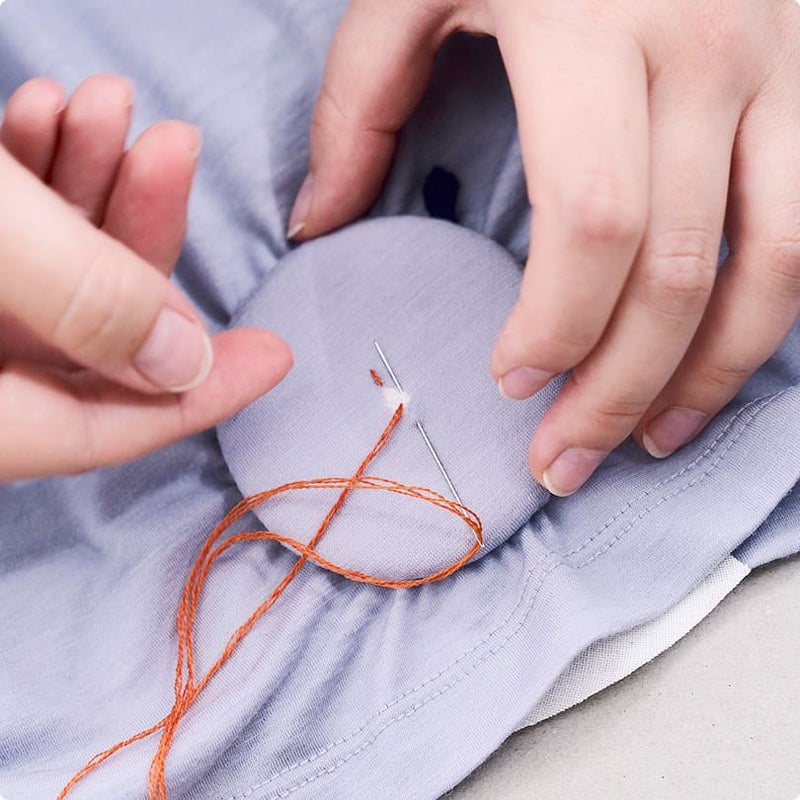
Step 03
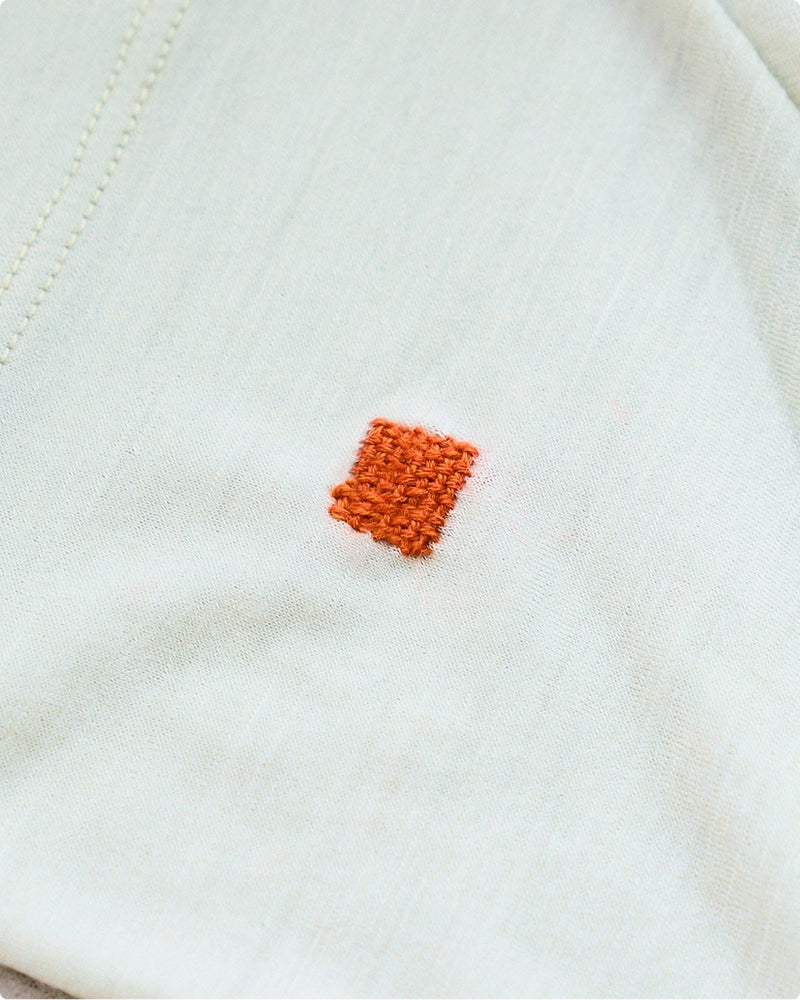
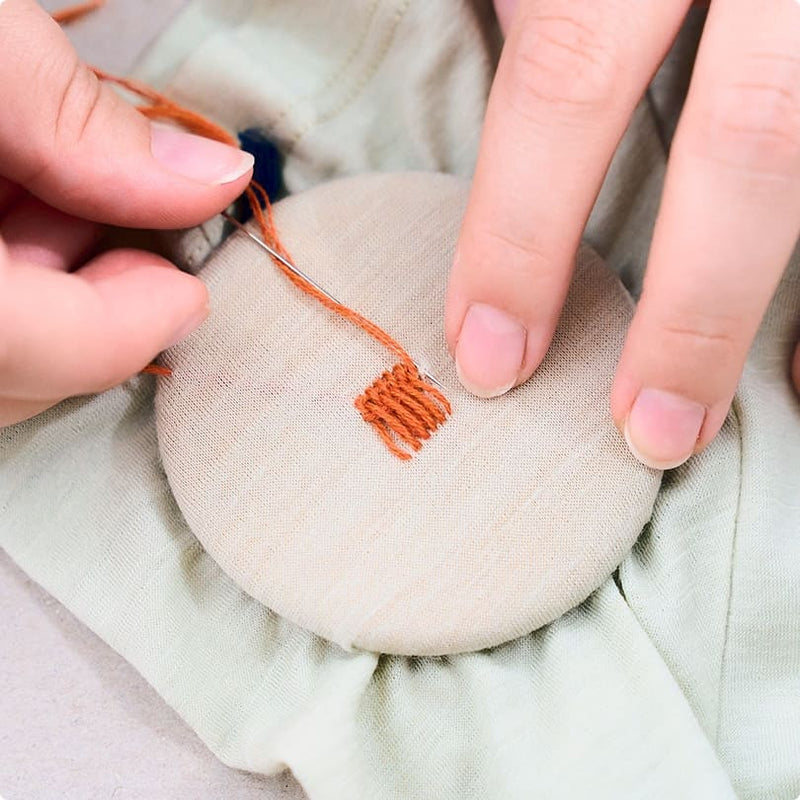
Bring your needle up to the top right corner, through two loops in the material, and back down to make another small stitch. Repeat this back and forth until the hole has been covered with long vertical stitches.
Step 04
The next step is to weave horizontal threads through the vertical stitches. Use the back end of your needle to begin weaving, over and under the threads. When you reach the other side, make a small stitch.
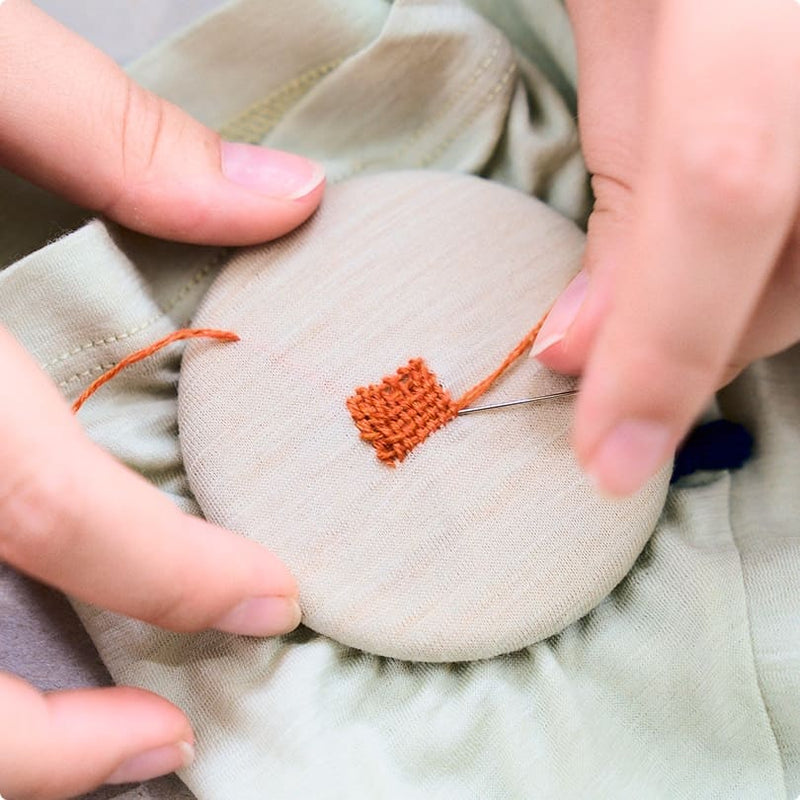
Step 05
Now repeat in the other direction, weaving over and under the opposite threads. You can use your needle to straighten the horizontal threads by pushing them against the previous row.
Step 06
At the end of your final row, place the needle halfway into the corner. Now you can carefully remove the darning disc, pulling the needle to the back side of the fabric.
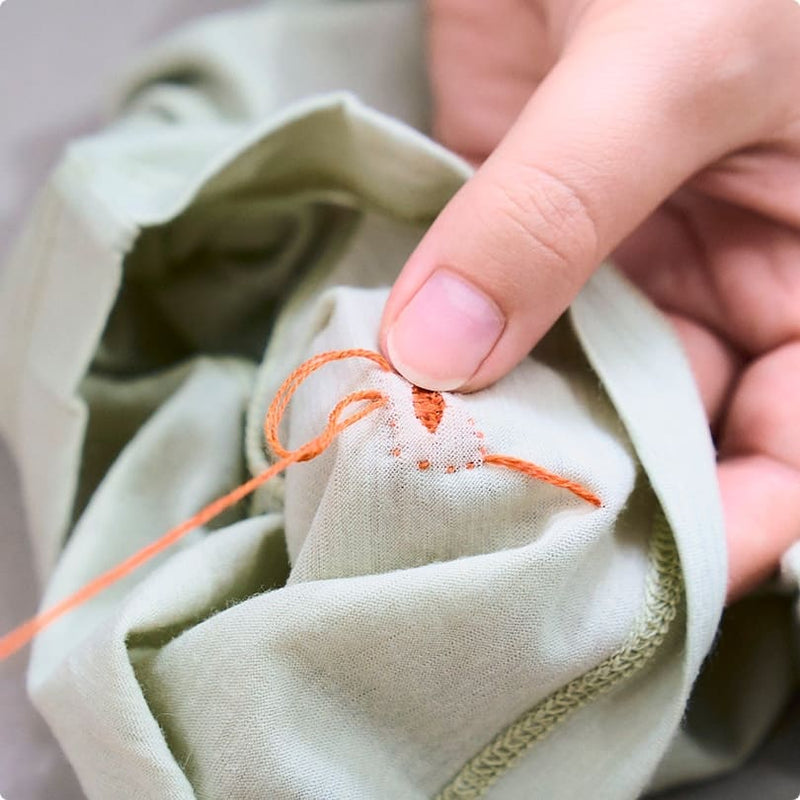
Step 07
On the backside of the material, secure the thread by making a couple of knotted stitches. Bring your needle through an existing stitch, and through the loop of thread as you pull to secure.
Step 08
Pull the other thread tail to the reverse, thread it onto your needle and repeat the same process. To complete your repair, trim both thread ends.
And just like that, your merino’s back to its best, because to repair is to re-wear.
Patch repair
Over time, even merino wool shows signs of the journey. This creative patch repair transforms small scuffs into something unique... something inspired by the natural world.
Difficulty level: 4/5
Repair time: 10 minutes
Tools needed: We’re using a needle and thread, scissors and a darning disc. If you don’t have one, you can secure your fabric around a small dish with an elastic.
This repair also uses a small scrap of fabric. Choose a lightweight, woven fabric for a durable finish.
Step 01
Place your fabric scrap behind the hole in your garment, and secure both layers onto a darning disc or another flat surface.
Place your threaded needle into the side of the work area, and come up to the surface at the edge of the hole, leaving a long tail of thread.
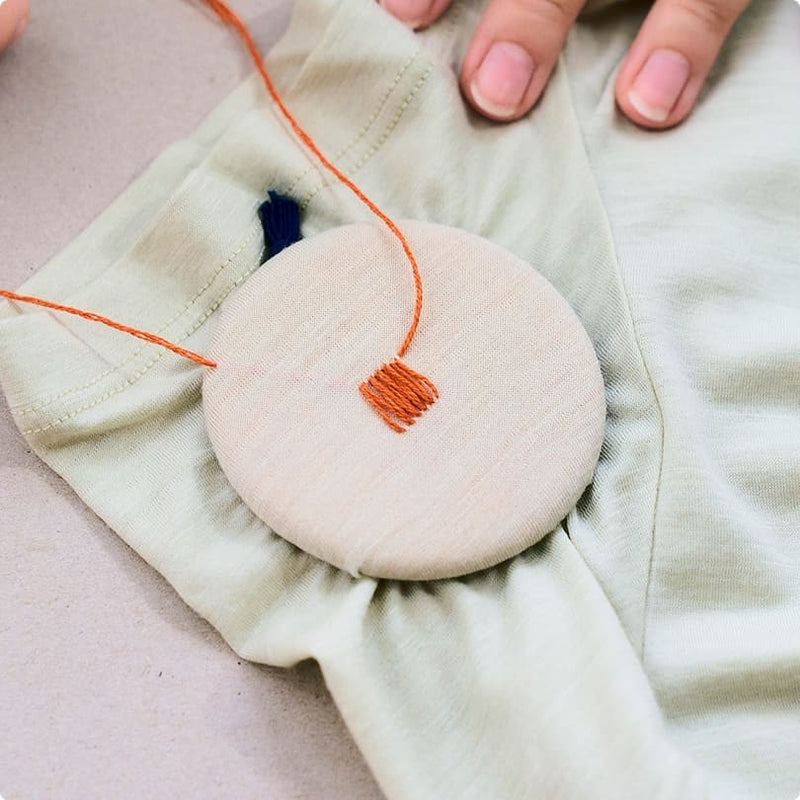
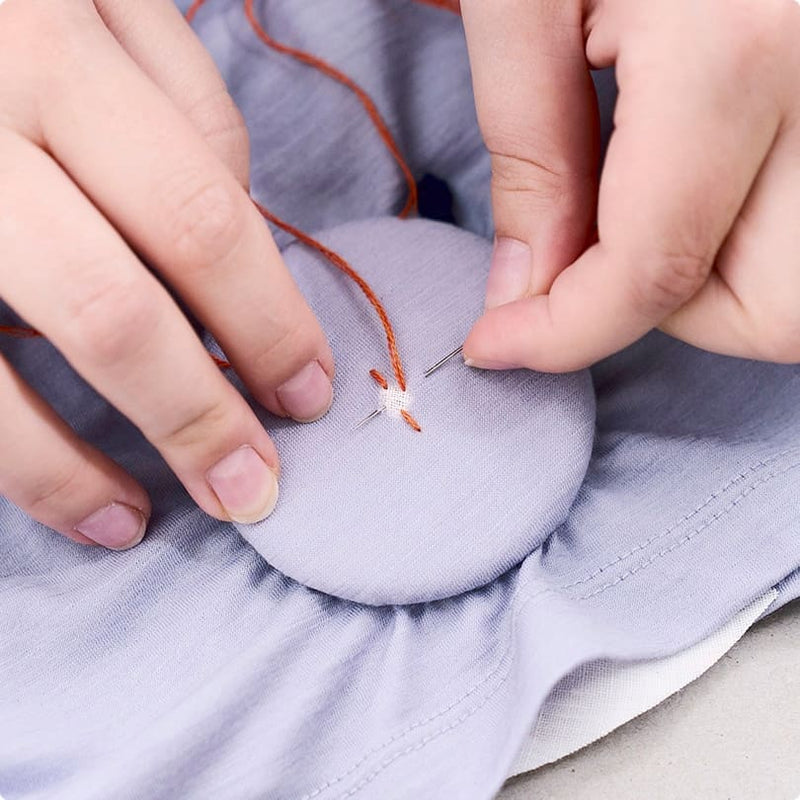
Step 02
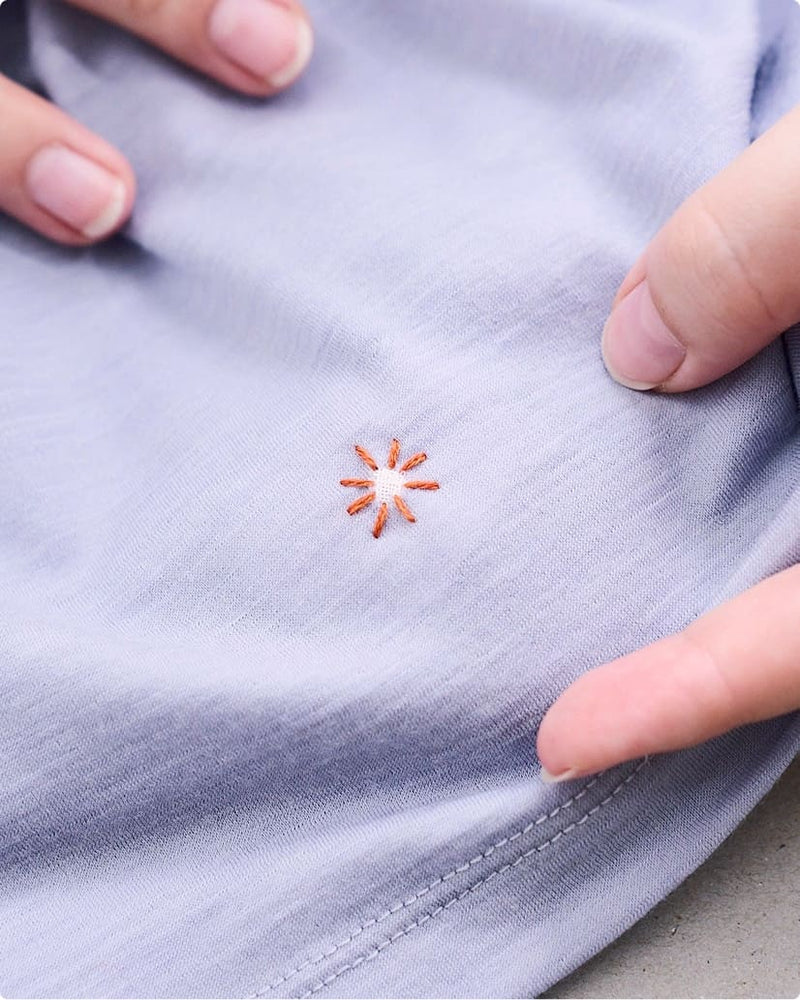
Make a stitch a few millimeters away from the hole to form your first sun flare, then come up at the opposite side of the hole.
Step 03
Repeat this step so that you have 2 adjacent stitches on either side of the hole, this time bringing your needle up along the edge of the hole halfway between the first two stitches. Repeat this step so that you have 4 sun flares stemming from the hole.
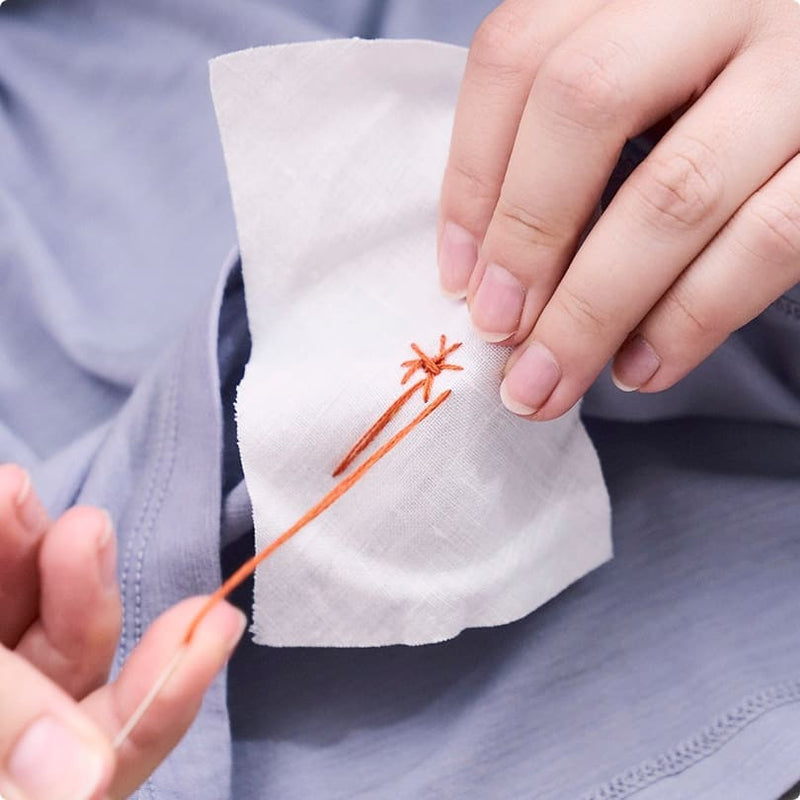
Step 04
You can continue adding stitches between your existing flares until you have 8, 16 or 32 sun flares depending on your preferred design, and the size of your hole.
Step 05
On your final stitch, place your needle halfway into the material. Now carefully remove the darning disc, pulling the needle to the back side of the fabric.
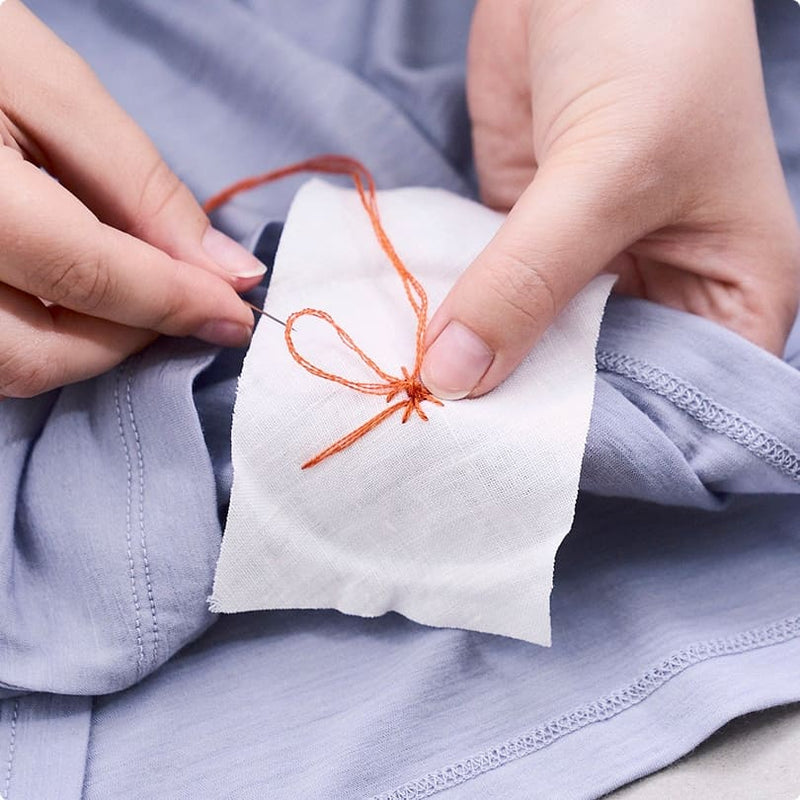
Step 06
On the backside of the fabric, place your needle through a couple nearby stitches, and make a knot by pulling the stitch closed through the loop that’s formed.
Thread your needle onto the second thread tail, where you began your repair, and repeat this process.
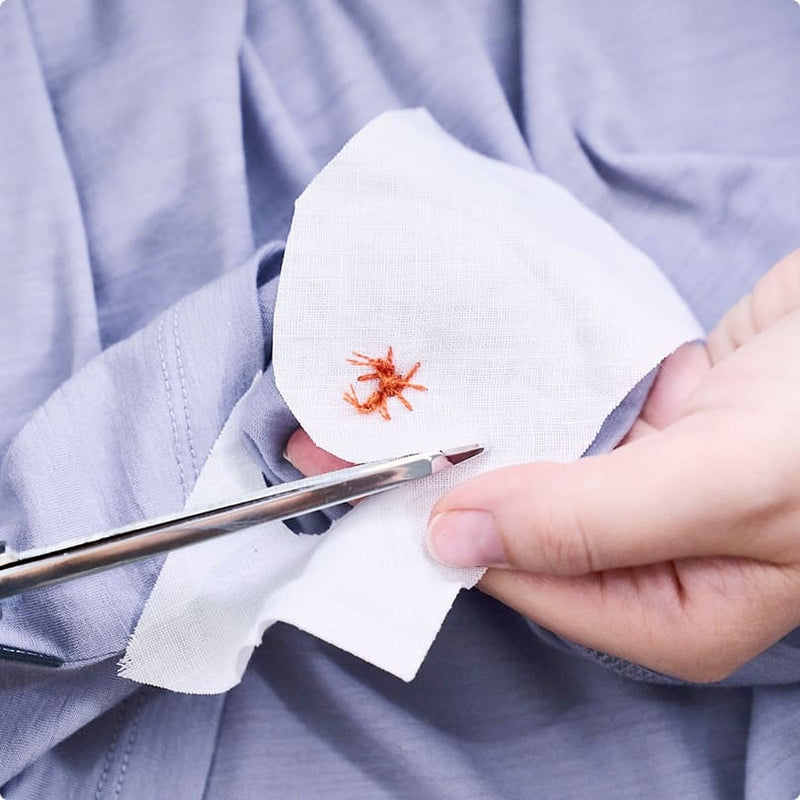
Step 07
Now you can trim the threads. You may also wish to trim some of the fabric from your patch.
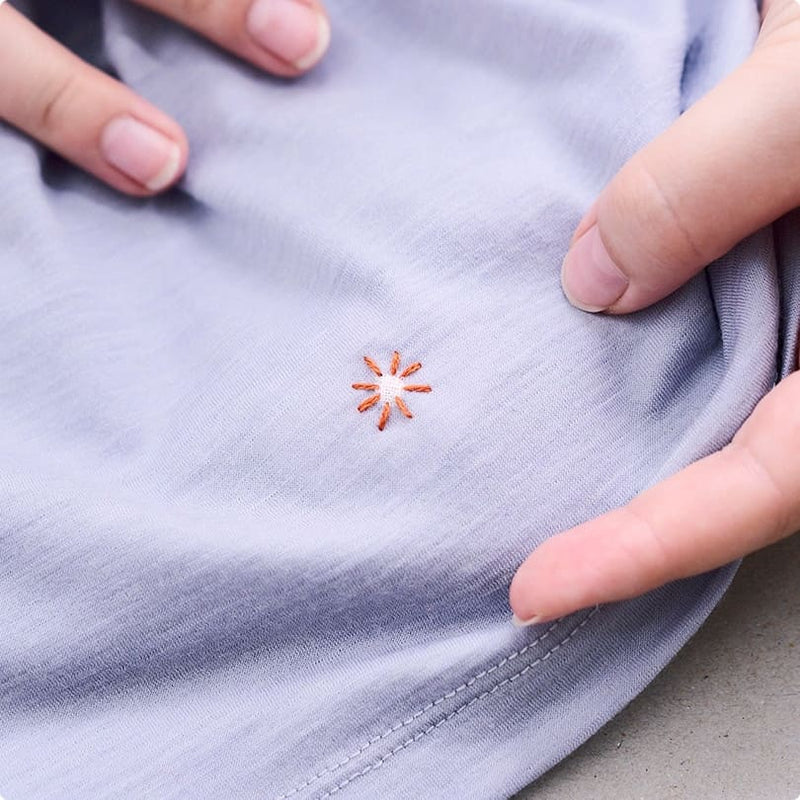
Step 08
This creative repair technique can be used to create a sun motif, as well as stars, leaves, flowers and many other creative interpretations.
And now that’s all fixed— and with a bit of added personality, because to repair is to re-wear.
Why choose merino wool?
Soft, breathable, and naturally odor-resistant, merino wool is your go-to for comfort and performance.
Discover what makes it exceptional and how to care for it to keep it lasting longer.
