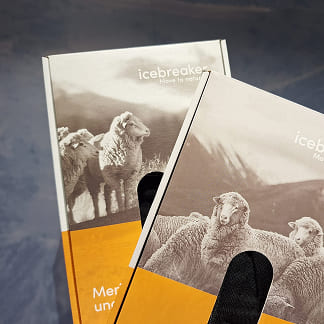
Pour nous, la transparence n'est pas un mot à la mode. Elle est tissée au cœur même de notre marque.
Notre engagement envers la transparence et la visibilité dans toutes nos activités nous guide depuis le premier jour. D'une communication ouverte et honnête à propos de nos matériaux à un approvisionnement en direct, nous estimons que vous méritez de savoir exactement comment votre équipement a été fabriqué, des simples fibres au produit fini.
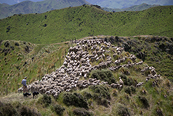
Nos partenariats directs nous offrent une visibilité complète sur l'ensemble de notre production, du mouton au vêtement. Cela nous permet de mettre en œuvre des pratiques responsables à chaque étape, d'identifier les points d'amélioration et d'être en mesure de rendre des comptes sur tous les éléments qui composent notre écosystème de fibres naturelles.
Nous recherchons activement des alternatives naturelles aux matières synthétiques, dans l'objectif de réduire le besoin en plastiques pétrochimiques dans nos équipements de performance. Nos tests rigoureux confirment que ces solutions naturelles offrent des avantages techniques mesurables, tout en éliminant tout plastique inutile des produits sur lesquels vous comptez.
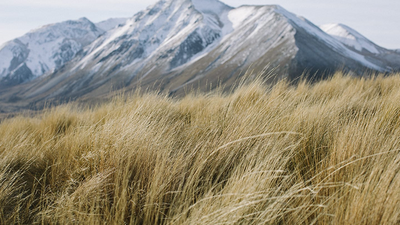
Nous soutenons et avons recours à des principes d'agriculture régénérative, et utilisons des ressources renouvelables dans tous les élevages où nous nous fournissons en laine mérinos afin de réduire notre impact environnemental. L’agriculture régénérative englobe plusieurs principes environnementaux et sociaux, qui visent à promouvoir la biodiversité, à protéger les cycles de l’eau, à améliorer la santé des sols et à réduire les émissions de carbone.
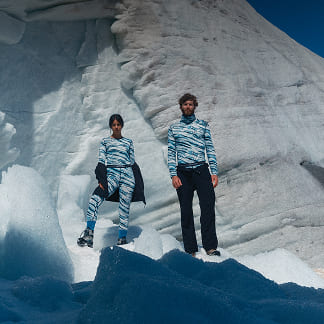
Move to natural™ représente plus qu'une simple vision, c'est le symbole de notre engagement en faveur d'un mode de vie plus naturel. Nous vous invitons à rejoindre ce mouvement et à préférer les fibres naturelles à celles synthétiques.
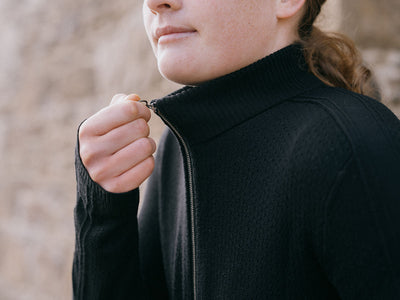
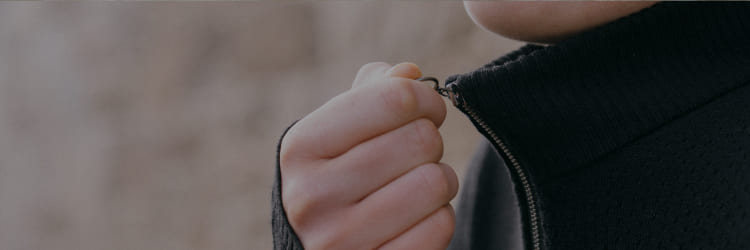
Fibres sans plastique. Des performances sans compromis.
Depuis le début de notre engagement à sortir petit à petit du plastique en 2018, nous avons fait des progrès remarquables. En 2018, nous comptions 84% de pièces composées d'aucun plastique.
Aujourd'hui, 98,3 % des tissus de notre collection 2025 sont sans plastique. Si nous sommes très fiers de cet accomplissement, il s'agit néanmoins d'une simple étape et non pas de l'arrivée.
Notre engagement à éliminer le plastique superflu des vêtements de performance demeure plus ferme que jamais.
*hors ornements ou décorations
2000
1995
2000
2005
2010
87%
2019
91%
2020
93%
2021
95.14%
2022
96.14%
2023
97.56%
2024
98.3%
2025
2026
2009
De meilleures matières
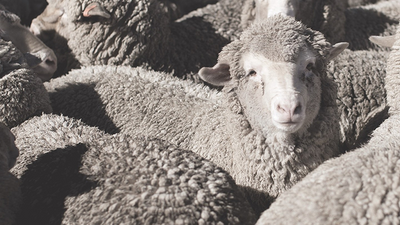
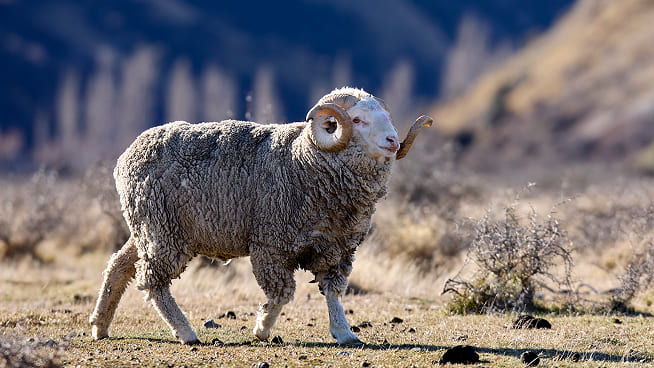
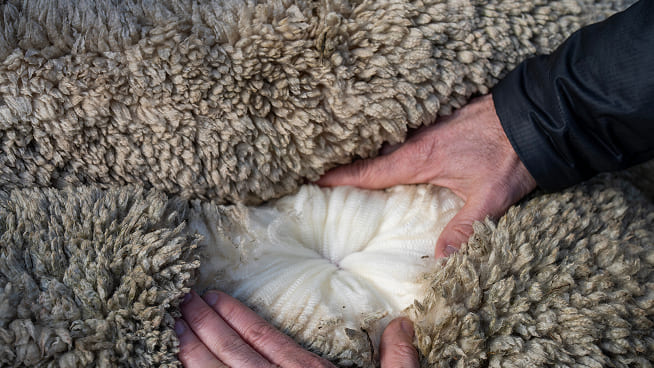
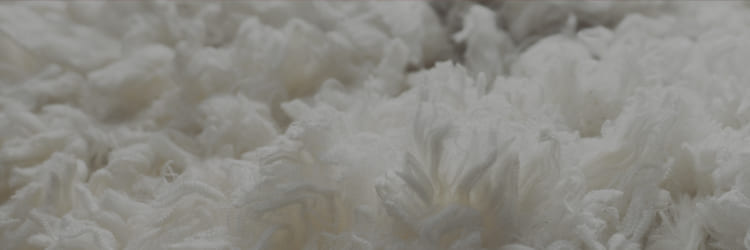
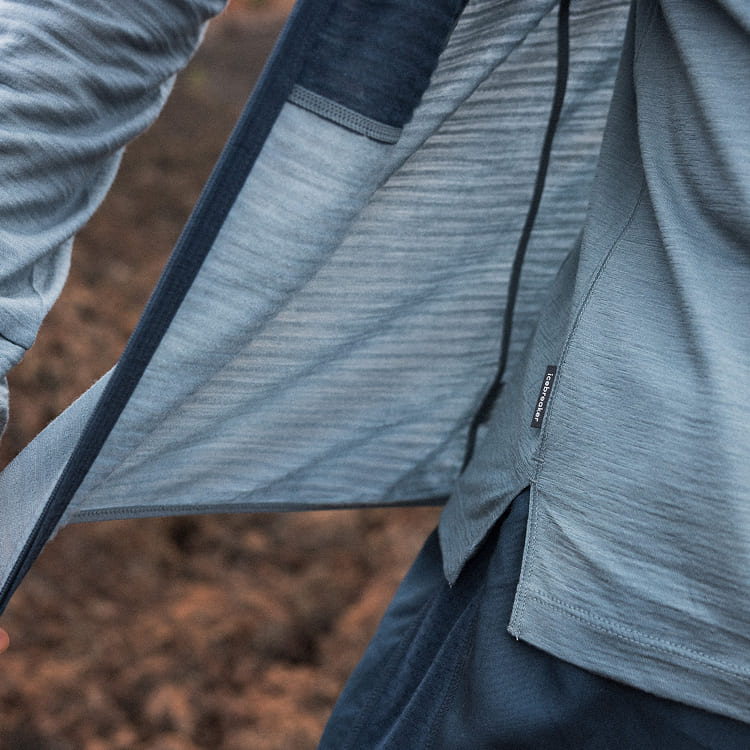
La laine mérinos constitue la base de nos produits. Cette fibre naturelle exceptionnelle allie chaleur, respirabilité et performance sans aucun produit pétrochimique.
Nous sélectionnons soigneusement les fibres que nous utilisons, et privilégions les alternatives naturelles plus respectueuses de la planète, sans jamais sacrifier le niveau de performance dont vous dépendez.
Quand des solutions ne sont pas encore totalement abouties ou qu'elles constituent un compromis sur la qualité ou la performance, nous faisons le choix de la transparence: vous parler à la fois de nos progrès et des défis que nous rencontrons dans notre recherche d'innovations naturelles.
*Analyse des fibres utilisées par icebreaker en 2024
Les fibres ultrafines de mouton mérinos offrent une sensation de douceur contre la peau et sont capables de réguler naturellement la température, l'humidité et les odeurs. Comparé à la laine ordinaire, le mérinos ne gratte pas, mais il procure tout autant de chaleur. C'est donc une matière confortable et adaptée aussi bien aux activités en plein air qu'au quotidien.
Le lyocell TENCEL™ (provenant de Lenzing) est fabriqué à partir d'une matière première naturelle, le bois. La pulpe du bois est transformée en fibres de cellulose grâce à un processus en boucle fermée.
Le lyocell TENCEL™ est incroyablement doux contre la peau, avec une excellente gestion de l'humidité, c'est pourquoi nous le mélangeons à de la laine mérinos pour nos produits Cool-Lite™ et Featherlight™.
Le coton est une fibre végétale polyvalente et renouvelable réputée pour sa douceur et sa respirabilité. Pour certains de nos produits, nous mélangeons soigneusement le coton à de la laine mérinos pour créer des tissus alliant les meilleures caractéristiques de ces deux matières, à savoir le confort, la gestion de l'humidité et la résistance aux aventures du quotidien.
Nous utilisons en priorité du coton biologique, conformément à notre engagement en faveur d'un approvisionnement responsable tout au long de notre chaîne d'approvisionnement.
Le lin est une fibre naturelle issue du plant de lin. Nous nous approvisionnons en lin de grande qualité dans sa zone de culture naturelle : la Belgique. Mélangé à notre laine mérinos, le lin vient renforcer les propriétés naturelles d'absorption de l'humidité de la laine, prévenant la sensation de mouillé.
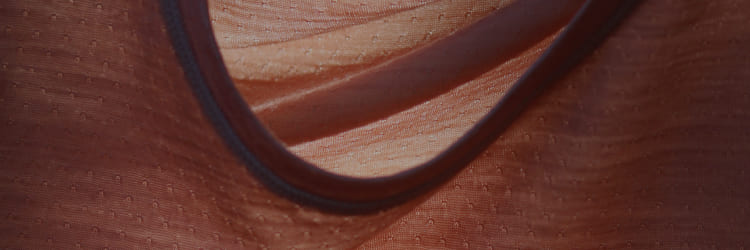
Les matières synthétiques végétales sont fabriquées à partir de ressources entièrement ou partiellement renouvelables, à la place des intrants pétrochimiques. Il s'agit techniquement de plastiques, puisqu'elles sont fabriquées par l'homme, mais elles sont dérivées de matières naturelles renouvelables, contrairement aux plastiques non renouvelables issus de la pétrochimie. Nous utilisons actuellement des fibres synthétiques biosourcées dans certains produits de nos collections. Nous voyons cela comme une solution provisoire nous permettant de réduire notre dépendance aux matières synthétiques issues de combustibles fossiles, sans compromettre les performances de nos produits.
Nous utilisons encore une petite quantité de fibres synthétiques issues de la pétrochimie (nylon, polyester, élasthanne) afin de répondre à des exigences de performance spécifiques,comme l'extensibilité. Nous nous efforçons constamment de les éliminer, de les remplacer par des solutions naturelles ou de les transformer en alternatives biosourcées.
Les matières synthétiques végétales sont fabriquées à partir de ressources entièrement ou partiellement renouvelables, à la place des intrants pétrochimiques. Il s'agit techniquement de plastiques, puisqu'elles sont fabriquées par l'homme, mais elles sont dérivées de matières naturelles renouvelables, contrairement aux plastiques non renouvelables issus de la pétrochimie. Nous utilisons actuellement des fibres synthétiques biosourcées dans certains produits de nos collections. Nous voyons cela comme une solution provisoire nous permettant de réduire notre dépendance aux matières synthétiques issues de combustibles fossiles, sans compromettre les performances de nos produits.
Les matières synthétiques végétales sont fabriquées à partir de ressources entièrement ou partiellement renouvelables, à la place des intrants pétrochimiques. Il s'agit techniquement de plastiques, puisqu'elles sont fabriquées par l'homme, mais elles sont dérivées de matières naturelles renouvelables, contrairement aux plastiques non renouvelables issus de la pétrochimie. Nous utilisons actuellement des fibres synthétiques biosourcées dans certains produits de nos collections. Nous voyons cela comme une solution provisoire nous permettant de réduire notre dépendance aux matières synthétiques issues de combustibles fossiles, sans compromettre les performances de nos produits.
84.25%
12.89%
0.82%
0.05%
1.06%
0.16%
0.53%
0.25%
Laine mérinos
84.25%
Lyocell TENCEL™
12.89%
Coton
0.82%
Lin
0.05%
Nylon
1.06%
Polyester
0.16%
Élasthanne
0.53%
Élasthanne d'origine végétale
0.25%
*Analyse des fibres utilisées par icebreaker en 2025
Une meilleure laine pour de meilleurs produits.
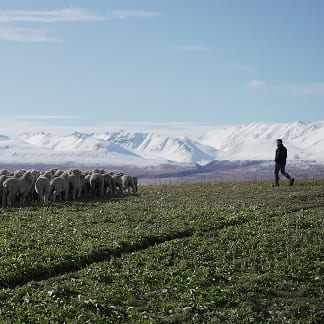
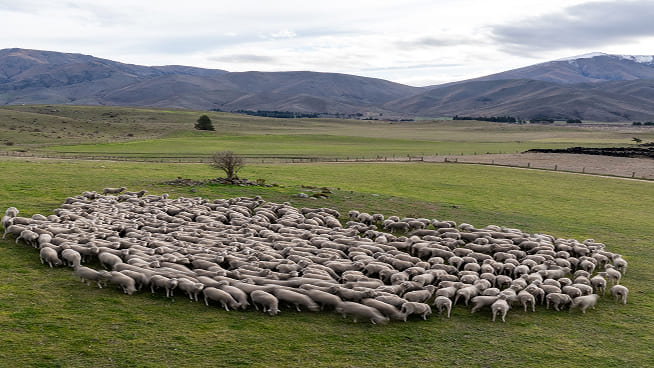
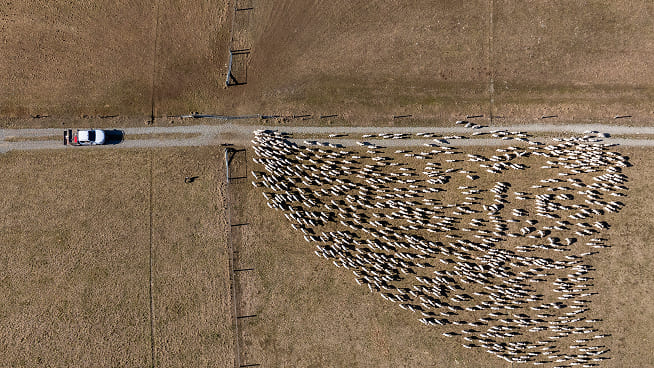
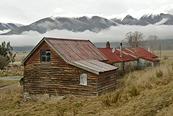
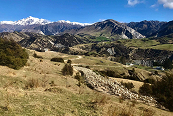
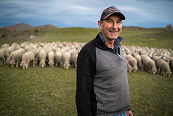
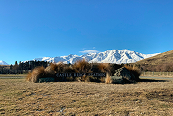
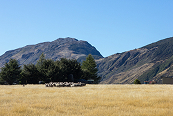
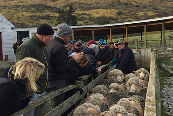
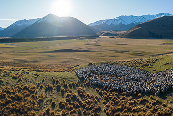
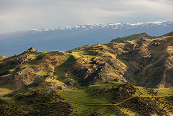
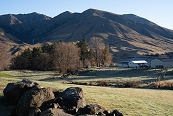
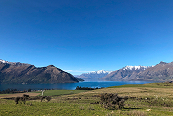
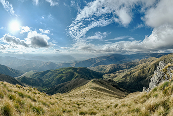
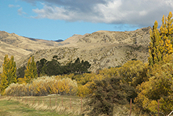
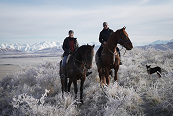
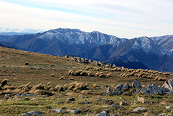
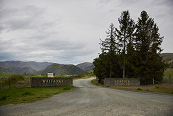
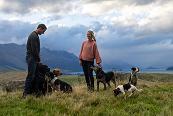
Notre laine mérinos emblématique provient d'éleveurs sélectionnés qui répondent à nos normes strictes de qualité des fibres et de responsabilité environnementale. Bien que nous restions profondément attachés à nos racines dans les élevages néo-zélandais de mérinos, la demande croissante nous a amenés à élargir prudemment notre zone d'approvisionnement de manière à inclure une sélection d'éleveurs en Afrique du Sud et en Australie.
Grâce à notre partenariat avec Zentera Wool Company™, notre partenaire basé en Nouvelle‑Zélande et responsable du programme de certification ZQ, nous nous assurons que tous les élevages, où qu'ils se trouvent, respectent les mêmes normes en matière de bien‑être animal, de gestion des terres et de qualité des fibres qui définissent nos produits.
La norme ZQ Merino représente la laine la plus éthiquement responsable au monde. Les éleveurs respectent les normes les plus strictes en matière de bien-être animal, de protection de l'environnement, de qualité des fibres, de traçabilité et de responsabilité sociale. Comment obtenir la certification ZQ:
*Sur la base des volumes de laine mérinos 2025
01
02
03
04
05
01
Bien-être animal
En 2008, nous étions l'une des premières marques spécialisées dans le plein air à bannir le mulesing, une pratique choquante qui consiste en couper la peau du mouton pour prévenir l'apparition de parasites. Cet engagement précoce en faveur du bien-être animal et de l'approvisionnement éthique a depuis été adopté à l'échelle de l'industrie.
En 2025, nous avons continué à soutenir ZQ+, une initiative de laine éthique créée par la Zentera Wool Company™. ZQ+ est un programme d'approvisionnement en laine promouvant une laine éthique cultivée selon les principes de l'agriculture régénérative. Les producteurs ZQ+ s'attachent à améliorer les pratiques agricoles, en favorisant la santé des sols, la biodiversité, la séquestration du carbone pour limiter son impact sur l'environnement, et la préservation des terres pour l'avenir.
*Sur la base des volumes de laine mérinos 2024-2025EN SAVOIR PLUS
Lancement du «Club des éleveurs»
68
En 2025, 68 élevages néo-zélandais étaient membres de ce club.
Lancement du «Club des éleveurs»
En 1997, nous avons révolutionné les normes de l'industrie en signant les premiers contrats à long terme du monde avec des éleveurs de mérinos sélectionnés.
En 2018, les choses ont encore évolué lorsque nous nous sommes associés à Zentera Wool Company™ en Nouvelle‑Zélande pour créer le « Club des éleveurs ». Cette initiative inédite propose des contrats reconductibles d'une durée de dix ans offrant aux éleveurs une certaine sécurité tout en garantissant un approvisionnement en fibres de laine mérinos pour nos collections.
RENCONTREZ NOS ÉLEVEURS
68 Éleveurs
Retour
AWAPIRI
7,500 ha.
4,500
BENMORE STN HEART HEART
5,600 ha.
20,800
BLUE MOUNTAIN
9,500 ha.
14,500
BLUFF
13,800 ha.
11,125
BOG-ROY
2,720 ha.
10,500
CAIRNMUIR
6,000 ha.
5,010
CASTLE RIDGE
5,900 ha.
17,500
CORA LYNN
1,600 ha.
2,716
EREWHON
13,475 ha.
4,500
GLEN LYON
36,000 ha.
8,290
GLEN ORKNEY
1,926 ha.
4,800
GLENALLEN
974 ha.
3,800
GLENTANNER
2,764 ha.
5,500
GODLEY PEAKS
14,000 ha.
6,000
IDA VALLEY
12,428 ha.
39,000
LAKE HERON
19,620 ha.
11,000
LAKE OHAU
8,322 ha.
6,510
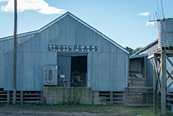
LINDIS PEAKS
3,371 ha.
13,542
MAHERUA
1,100 ha.
4,650
MATAKANUI
9,138 ha.
17,000
MIDDLEHURST
16,650 ha.
12,000
MT NICHOLAS
36,400 ha.
29,000
NOKOMAI
34,000 ha.
33,000
NORTHBURN
13,380 ha.
10,000
OMARAMA STATION
12,000 ha.
18,500
OTEKAIEKE
5,800 ha.
6,750
OTEMATATA
40,000 ha.
29,310
QUAILBURN DOWNS
2,466 ha.
5,600
WAITANGI
21,000 ha.
14,300
WALTER PEAK
26,000 ha.
12,000
AHURIRI DOWNS
12,300 ha.
10,000
ARDGOUR
3,150 ha.
6,900
BLACKSTONE HILL
4,220 ha.
16,500
BONJEDWARD
1,330 ha.
6,000
BRAEVAAR
280 ha.
1,400
CARRICK
9,800 ha.
1,200
CATHERINE FIELD
485 ha.
2,000
CECIL PEAK
15,000 ha.
5,000
CLAREVALE
243 ha.
1,700
CLUDEN
12,000 ha.
10,000
CORLEGGY
3,300 ha.
5,700
CRAGSIDE
1,522 ha.
6,800
CRAIGROY
7,600 ha.
6,200
DIP CREEK
3,500 ha.
5,000
DOLPHINS
3,100 ha.
4,000
EARNSCLEUGH
21,000 ha.
26,000
GLENFOYLE
5,500 ha.
6,000
GOULBURN
9,126 ha.
20,000
GRAMPIANS
18,265 ha.
15,000
GUIDE HILL
3,500 ha.
6,500
HARTFIELD
3,500 ha.
9,700
LAKE COLERIDGE STATION
8,026 ha.
10,000
LAKE TAYLOR
7,948 ha.
6,852
MANGAITI
900 ha.
4,900
MONAGHAN
1,600 ha.
4,500
MT MASON
3,000 ha.
10,500
MT ROSS
1,706 ha.
2,500
MT WHITNOW
4,500 ha.
4,500
MULLER
38,500 ha.
13,000
MUZZLE
16,000 ha.
7,000
PATEAROA STATION
7,800 ha.
9,120
REDCLIFFS STATION
1,985 ha.
7,000
RICHMOND BROOK
4,400 ha.
2,500
ROSENEATH
3,441 ha.
6,634
ROUGH RIDGE
900 ha.
3,500
STONEHENGE
10,000 ha.
15,000
THE GUMS
920 ha.
4,755
UPCOT
13,500 ha.
5,600
Des relations privilégiées.
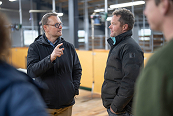
Nous connaissons les noms de tous les partenaires de notre chaîne d'approvisionnement, car ils ne sont pas uniquement des fournisseurs à nos yeux, ils sont des partenaires de notre mission Move to natural.
Depuis 2025, nous sommes directement en relation avec les fournisseurs pour 100 % de nos tissus, 93 % de nos fibres et 93 % de nos fournitures. Les matières et matériaux restants proviennent de nos fournisseurs de tissus et de vêtements de confiance, tous soumis à nos normes exigeantes.
Les relations qui durent en disent long.
C'est pourquoi nous sommes fiers que près de la moitié (49 %) de notre production proviennent toujours du premier partenaire international avec lequel nous avons commencé à travailler il y a plus de 20 ans. Dans une industrie connue pour ses changements constants de fournisseurs, nous faisons le choix de grandir main dans la main.
Logistique et transport
En 2025, 80 % de nos expéditions ont été faites par voie maritime, avec moins de 5 % d'entre elles nécessitant du fret aérien. Ceci est le résultat d'une planification réfléchie et de notre engagement à réduire les coûts et notre impact sur la nature.
Le transport aérien demeure notre dernier recours, uniquement réservé aux circonstances exceptionnelles hors de notre contrôle. Une gestion minutieuse de nos prévisions et de notre logistique nous permet d'avoir quasi exclusivement recours au transport maritime et au transport routier.
100 %
de nos tissus
93 %
de nos fibres
93 %
de nos fournitures
49%
du volume est encore fabriqué par le premier fournisseur
80 %
de nos produits ont été expédiés par voie maritime
Nous connaissons les noms de tous les partenaires de notre chaîne d'approvisionnement, car ils ne sont pas uniquement des fournisseurs à nos yeux, ils sont des partenaires de notre mission Move to natural.
Depuis 2025, nous sommes directement en relation avec les fournisseurs pour 100 % de nos tissus, 93 % de nos fibres et 93 % de nos fournitures. Les matières et matériaux restants proviennent de nos fournisseurs de tissus et de vêtements de confiance, tous soumis à nos normes exigeantes.
100 %
de nos tissus
93 %
de nos fibres
93 %
de nos fournitures
Les relations qui durent en disent long.
C'est pourquoi nous sommes fiers que près de la moitié (49 %) de notre production proviennent toujours du premier partenaire international avec lequel nous avons commencé à travailler il y a plus de 20 ans. Dans une industrie connue pour ses changements constants de fournisseurs, nous faisons le choix de grandir main dans la main.
62 %
du volume est encore fabriqué par le premier fournisseur
Logistique et transport
En 2025, 80 % de nos expéditions ont été faites par voie maritime, avec moins de 5 % d'entre elles nécessitant du fret aérien. Ceci est le résultat d'une planification réfléchie et de notre engagement à réduire les coûts et notre impact sur la nature.
Le transport aérien demeure notre dernier recours, uniquement réservé aux circonstances exceptionnelles hors de notre contrôle. Une gestion minutieuse de nos prévisions et de notre logistique nous permet d'avoir quasi exclusivement recours au transport maritime et au transport routier.
80 %
de nos produits ont été expédiés par voie maritime
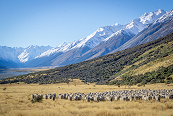
DU MOUTON AU VÊTEMENT
Notre parcours de la fibre brute au produit fini témoigne de notre engagement envers la qualité et la transparence à chaque étape.
01. Approvisionnement en laine
02. Préparation et cardage
03. Filature
04. Tissage
05. Production de vêtements
06. Distribution
07. En magasin ou en ligne
Approvisionnement en laine
Laine mérinos de qualité supérieure provenant d'éleveurs qui partagent notre engagement en faveur de la responsabilité environnementale et du bien-être animal.
Préparation et cardage
La laine brute est nettoyée, cardée, défeutrée et nettoyée pour la préparer à l'étape suivante.
Filature
Les fibres sont étirées et entrelacées pour former des fils très fins et performants.
Tissage
Les tissus sont obtenus par le tricotage ou le tissage des fils, ou par collage ou par feutrage pour les fibres. Ils sont également teints à l'étape de tissu ou de fil.
Production de vêtements
Les tissus sont découpés puis cousus, ou directement tricotés pour former des vêtements et des accessoires.
Distribution
Les vêtements terminés sont acheminés vers les centres de distribution de nos principales régions.
En magasin ou en ligne
Notre équipement trouve une place chez vous en passant d'abord par nos magasins ou en arrivant directement devant votre porte.
Emballages
Nous nous engageons à nous fournir de manière durable en emballages, et à tout mettre en œuvre pour utiliser davantage d’emballages recyclés dès que possible
Production d'emballages 2025
1,323,934
boîtes
Production d'emballages 2025
4,900,169
autocollants
Production d'emballages 2025
4,767,862
étiquettes
Production d'emballages 2025
422,945
attaches pour accessoires
Production d'emballages 2025
699,317
attaches pour chaussettes
Production d'emballages 2025
1,314,097
autocollants pour chaussettes
Production d'emballages 2025
1,376,179
sacs en polyester recyclé
01
100 % de nos emballages papier et carton sont certifiés Forestry Stewardship Council (FSC). Le label FSC garantit que la productivité des écosystèmes naturels est conservée, et que les meilleures pratiques sont utilisées pour réduire les impacts indésirables sur les sols, l’eau et l’air.
Tous les autocollants utilisés sur et dans les boîtes sont 100 % papier.
02
Nos étiquettes sont actuellement fabriquées en carton non ondulé (PAP21), et leurs cordons en 100 % coton.
03
Nos attaches pour accessoires et chaussettes sont fabriquées en emballages papiers 100 % certifiés FSC.
04
Enfin, tous nos sacs plastiques sont fabriqués à partir de 100 % de polyéthylène basse densité (PEBD) recyclé.
Actualité
La Repair Station icebreaker
Lancée à l’occasion de la Journée mondiale de la réparation 2025 pour aider les gens à réparer, réutiliser et prolonger la durée de vie de leurs couches.
Le t-shirt 75 Featherlight, lauréat des ISPO Awards 2024 et lancé en 2025 : notre couche la plus légère, 100 % sans plastique, à porter à même la peau.
En 2025, nous fêtons nos 30 ans ; 30 ans de fibres naturelles haut de gamme aux performances exceptionnelles. Depuis nos débuts en 1995, nous sommes des pionniers de l'innovation pour la laine mérinos et continuons de révolutionner le secteur des vêtements d'extérieur.
Nous nous sommes associés à Protect Our Winters pour aider à préserver nos terres sauvages et sensibiliser au problème critique de la fonte des glaciers et de son impact en aval.
En 2024, la communauté icebreaker a contribué à la sélection d'un projet néo-zélandais mené par les éleveurs sur les pratiques de pâturage régénératives.
En 2024, nous avons sorti deux nouvelles couches intermédiaires légères : la 200 RealFleece™ Descender et la 400 RealFleece™ Descender. Le mieux, dans tout ça ? Elles ne contiennent aucune fibre plastique.